
It’s always rather sad to see a special watch, given out of love to recognize a special occasion, consigned to the bin after years of service because it has stopped working. This gorgeous chunk of 1970’s stainless steel has certainly seen a lot of use and is looking rather sorry for its self, but it stopped working and eventually found its way onto the open market for spares or repair.

And here’s why this watch was special; it commemorated Frank & Eileen’s silver wedding anniversary in 1974, but it is sadly now a non-runner.
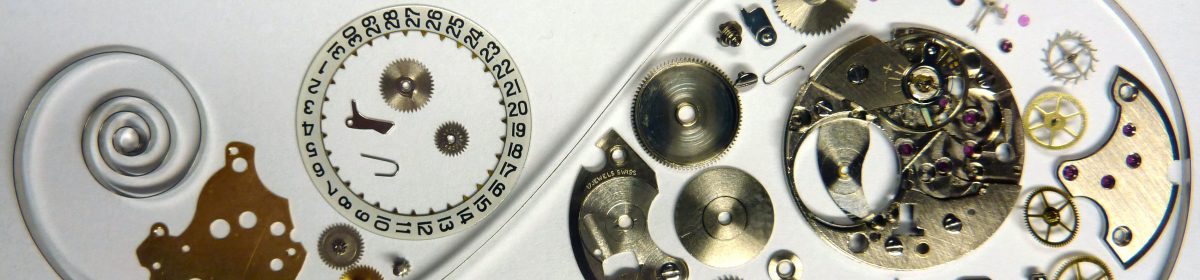
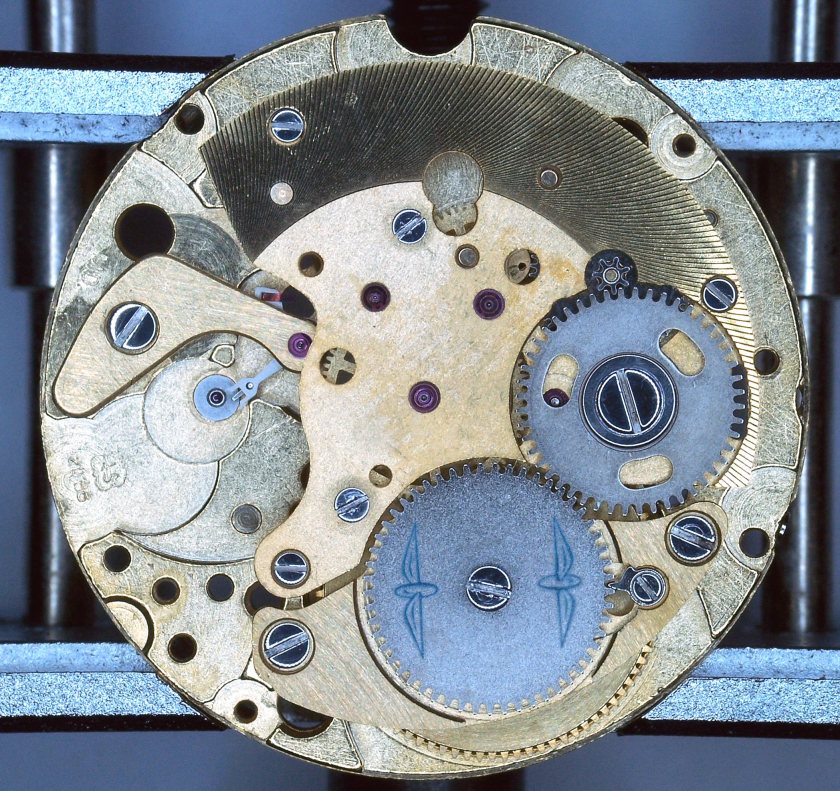
With the back off things are looking a bit grubby and there is no evidence of any oil any more, but there is no indication of any serious issues.
I take the winding rotor off before un-casing the movement as it reduces the risk of damage. The movement really is quite dirty, and the first sign of problems becomes evident; the balance cock screw is very rusty.
With the movement out of the case the dial is found to be as grubby as the rest of the movement, but not damaged.
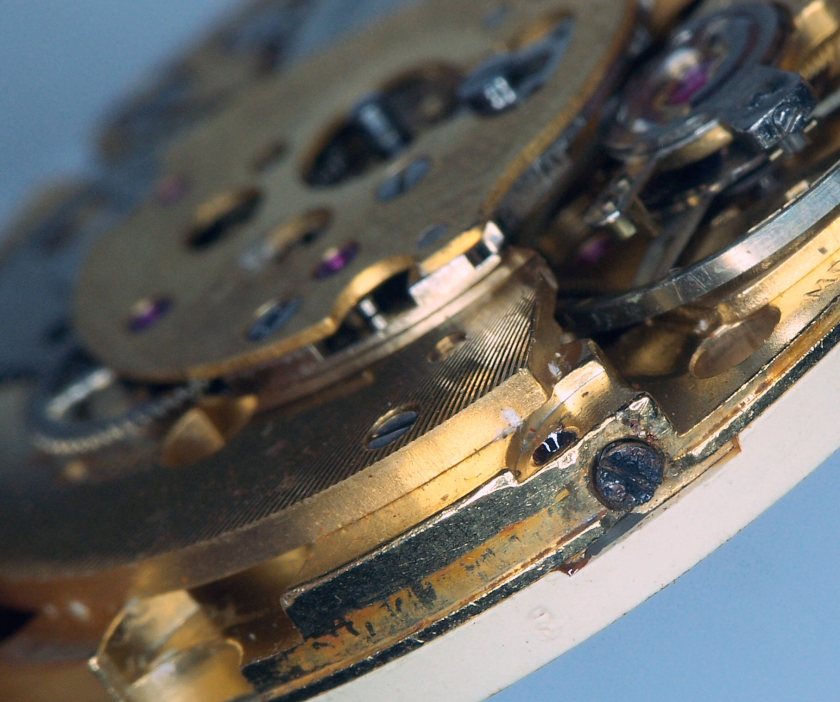
More evidence of water ingress issues. This dial screw is as rusty as the balance cock screw and there is rust staining on the movement edge.
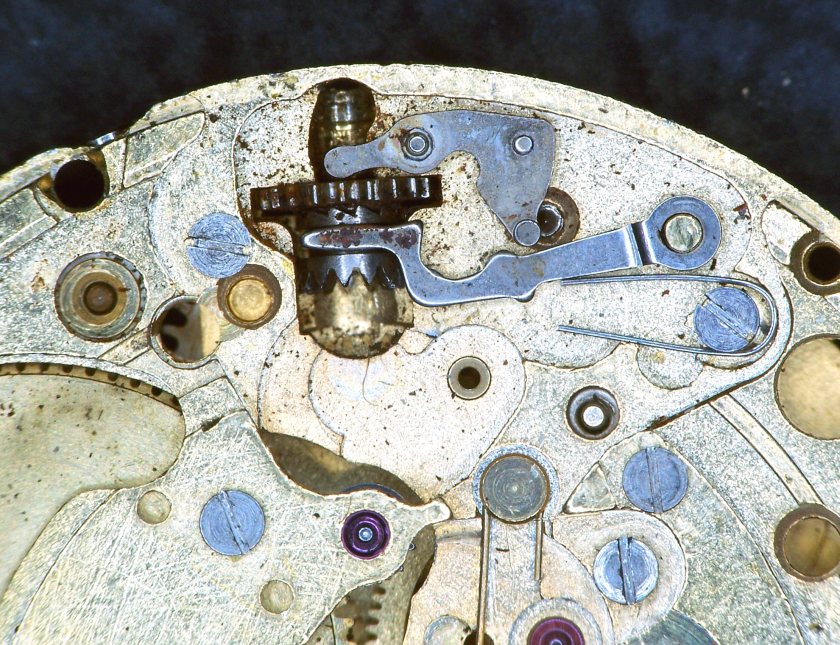
As the strip down proceeds more rust comes to light on the keyless works, and it is obvious that most of the dark specks of dust on the movement are loose rust particles.
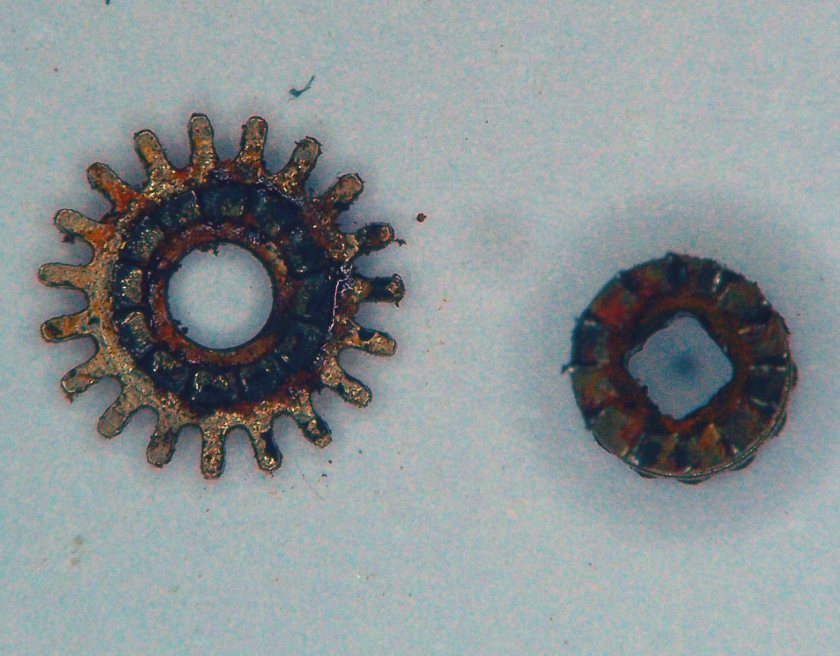
The winding pinion and sliding clutch have pretty well had it suggesting that a failed crown gasket has let moisture in through the case tube.
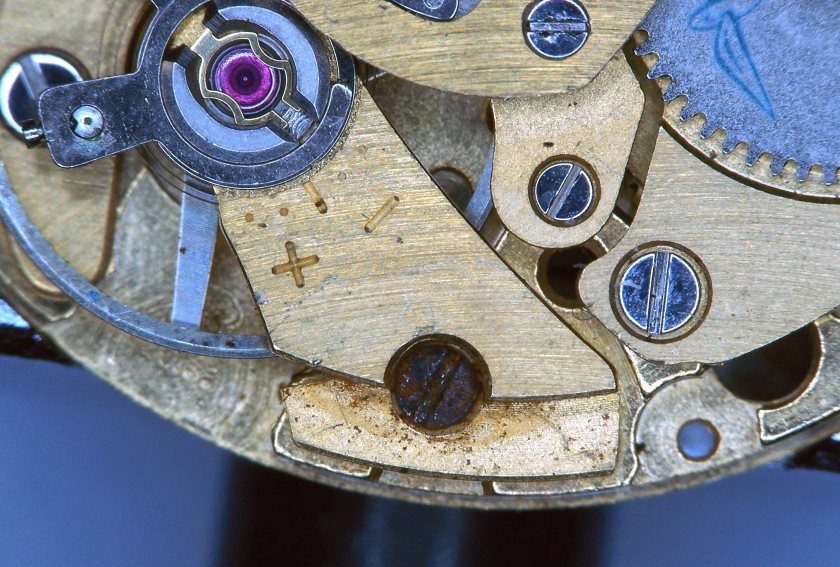
Here’s the balance cock screw again.

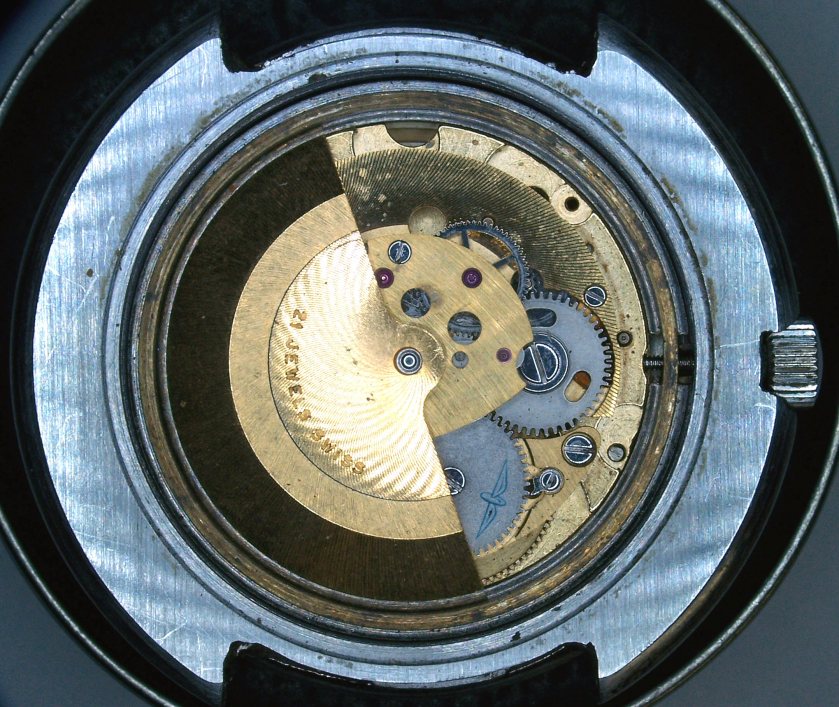
Another look at the movement shows moisture staining spots on the train bridge.
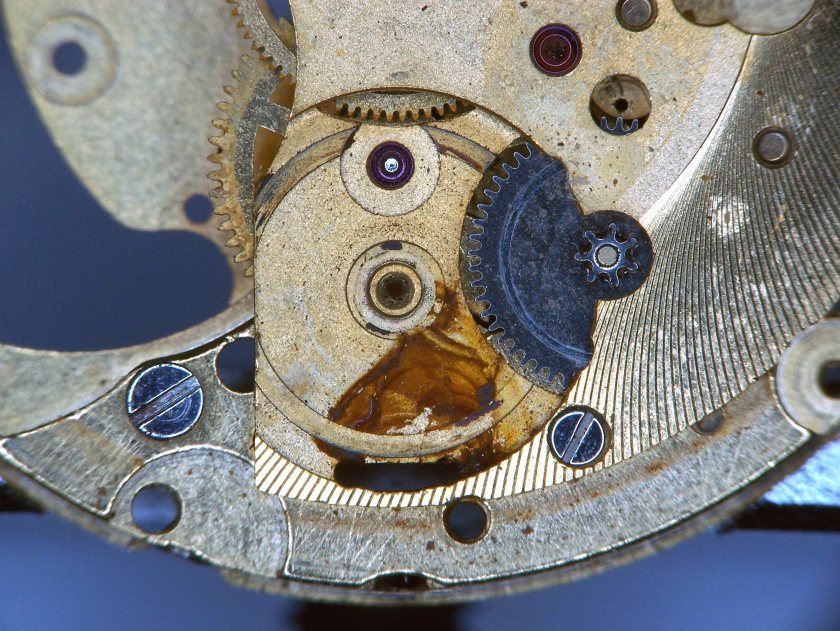
With the crown wheel out of the way the rust staining is found to have spread.
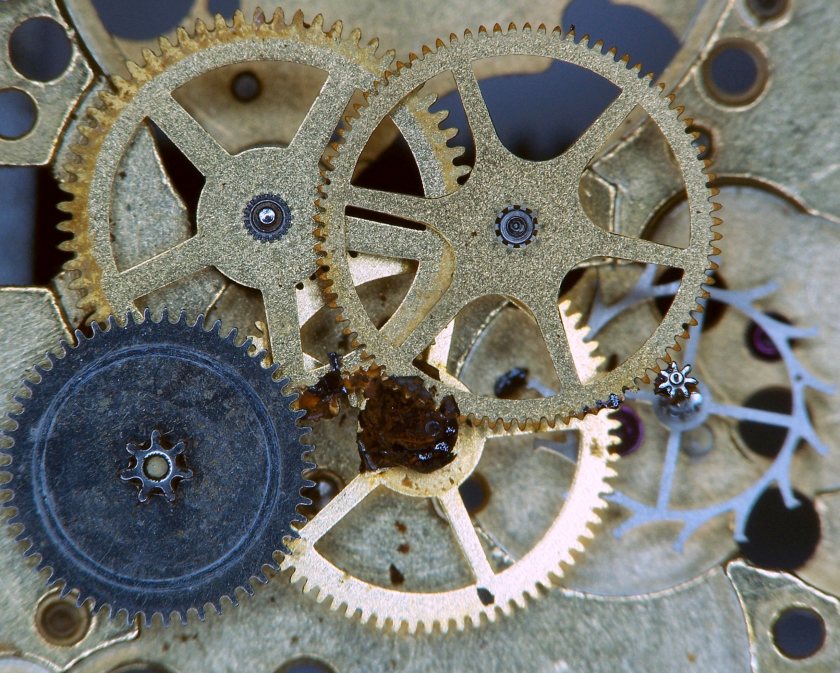
And once the train bridge is off the true extent of the damage is revealed in all it’s horrific glory. The third wheel and escape wheel pinions are toast, and there is rust staining around all the teeth of the center and fourth wheels, suggesting that the watch did run for a while as the pinions were rusting away. This is clearly what eventually stopped the watch.

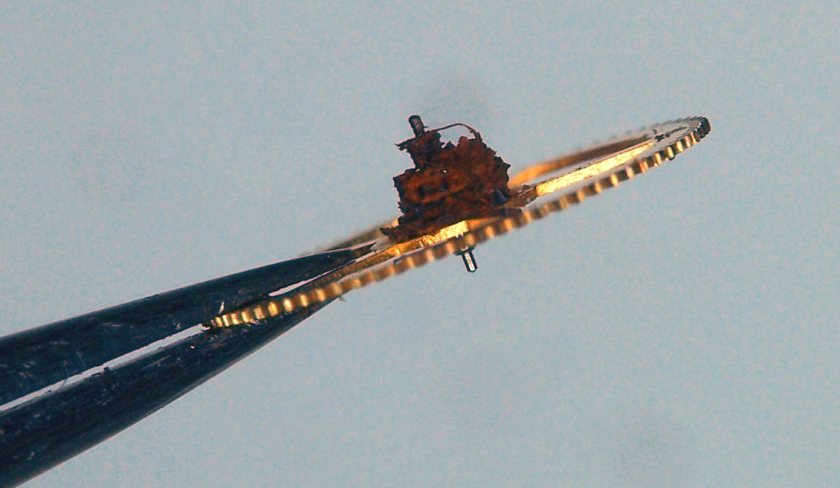
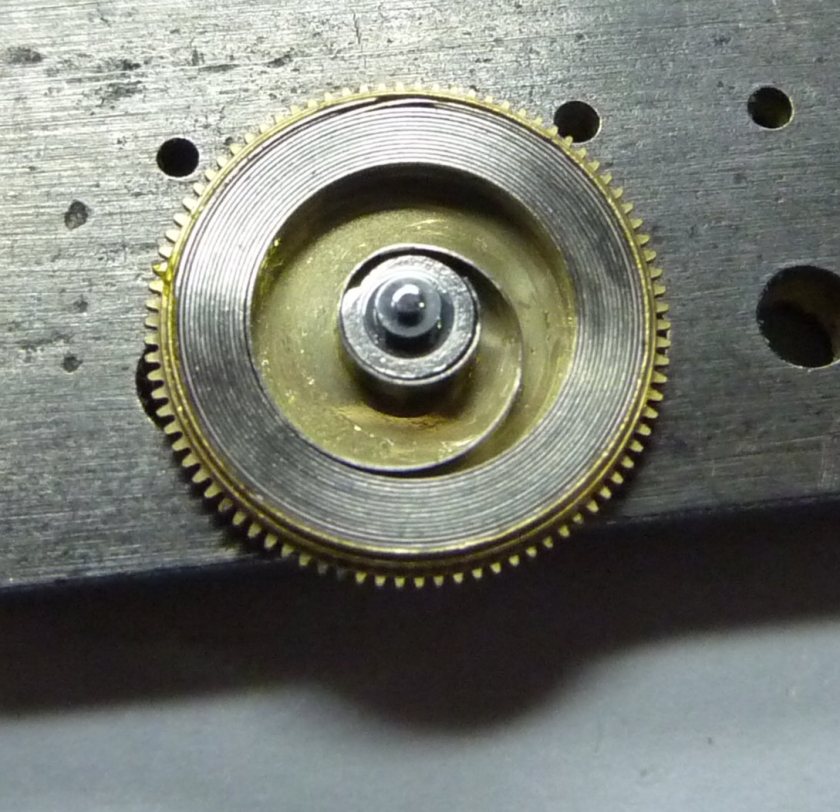
The third wheel pivot jewel in the train bridge is encrusted.
Not a pretty sight. So I have to source replacements for the winding pinion, sliding clutch, third wheel, escape wheel, balance cock screw and dial foot screw, and of course the crown gasket needs sorting. Fortunately I have a donor movement so all the required parts are ready to hand.

Continuing the strip down the main spring grease has dried to a crusty goo…
And the auto-wind module looks relatively unscathed apart from little bit of rust staining.

After removing as much of the rust as possible using peg wood, followed by a full cycle through the cleaning machine things are looking a lot more hopeful.

Reassembly starts with the main spring barrel. I always use a spring winder when reinstalling a main spring. It’s just easier and helps to avoid distorting the spring.
Breaking grease is applied to the inside of the barrel walls (Moebius 8213 in this case) and the main spring and arbor go back in. Things look a lot better than before.

The balance temporarily goes back so that the Incabloc settings can be reinstalled and the shape and condition of the hair spring can be properly checked and adjusted if necessary.

Then with the balance moved back out to a safe place the train wheels, complete with replacement third and escape wheels go back in.

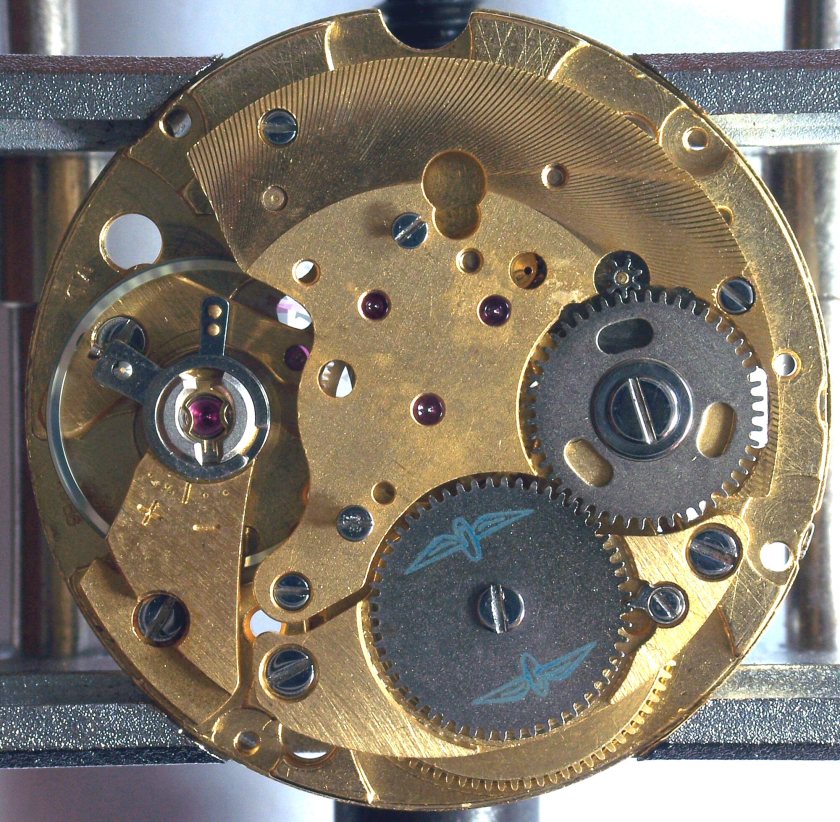
The train bridge, barrel and barrel bridge, and crown and ratchet wheels back where they belong. The pivots are oiled and the train checked for freedom; all is looking good. The L&R Extra Fine cleaning solution has even done quite a good job on the staining that marked the train bridge.
With the pallet fork reinstalled the escapement can be lubricated.
Then the balance goes back in and starts straight away.

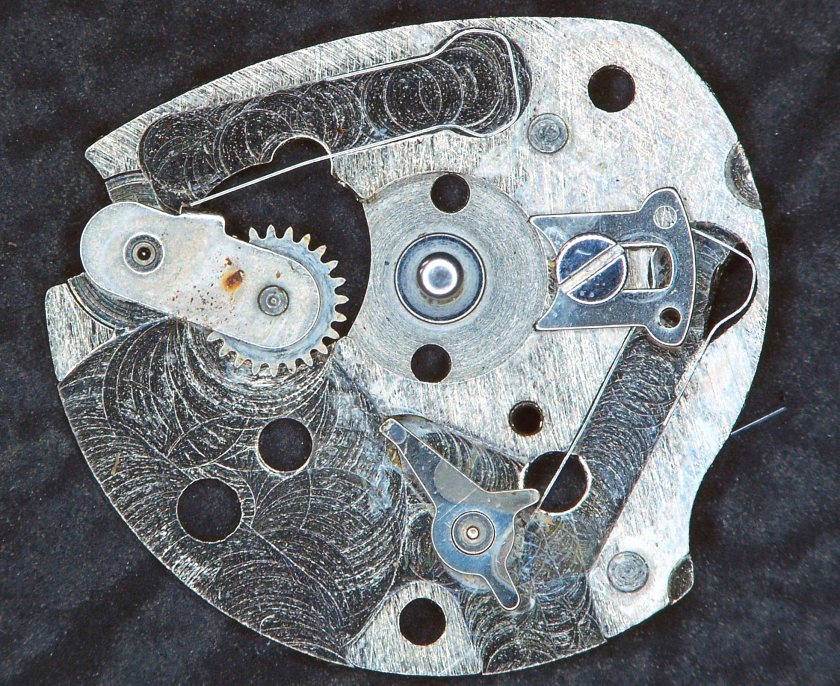
Turning things over the cleaned up keyless works go back together.

Then the calendar works are reinstalled.

The reassembled auto-wind module goes back on.
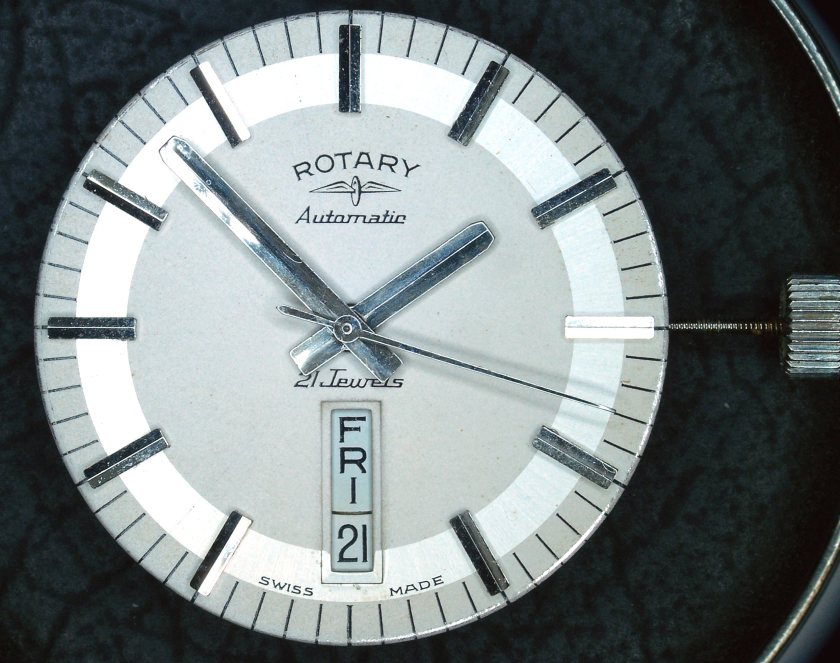
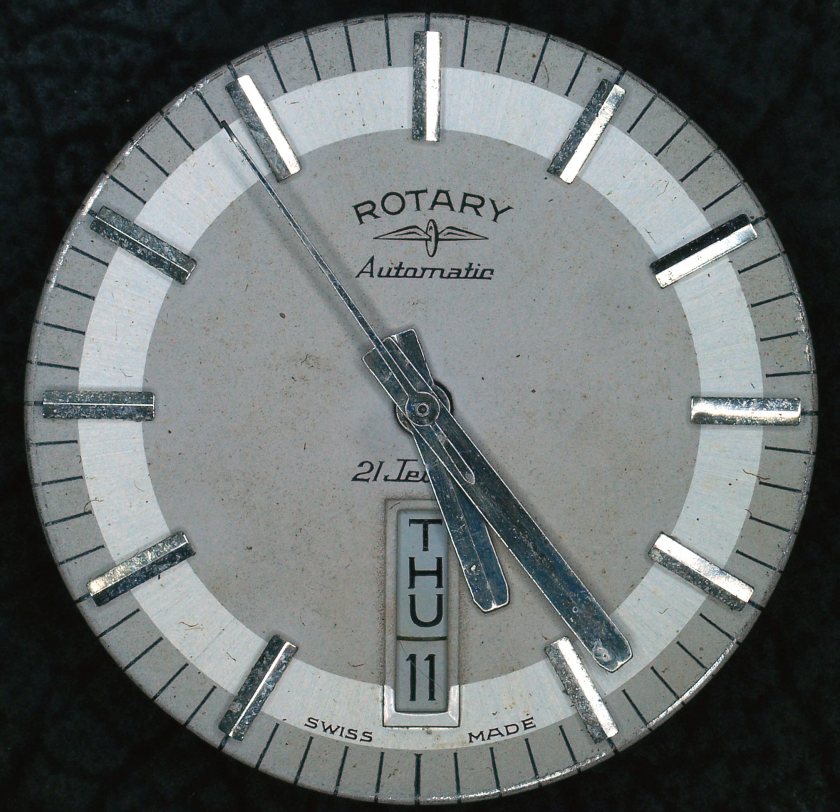
And then the cleaned up dial and hands…

Before going back into the case. The case incidentally has been through the ultrasonic cleaner for a spruce up, and the crystal has been polished to remove all of the scratches.

Finally the rotor goes back on prior to closing up.
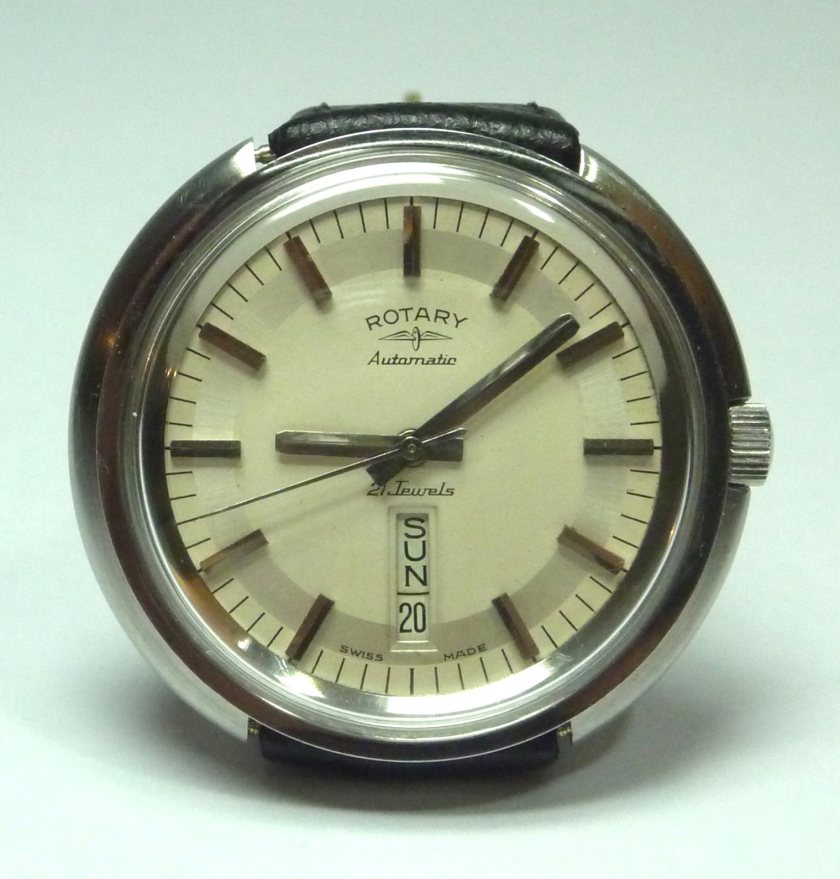
And the end result, looking a whole lot better and running like a champ. With all of the rusted parts replaced, everything cleaned and re-lubricated, this great piece of ’70’s bling is back in fighting form. A special watch that hopefully now has a lot of future to look forward too.

Hello,
I have just discovered your blog and love it
I am an aspiring watchmaker and hoping to do your level of work in 15 years or so.
May I ask how you cleaned up the dial of the rotary – the result is stunning.
Thank you,
Filip from Belgium
LikeLike
Hi Filip, thanks for your comments, I’m glad you like my efforts.
The dial on the Rotary was actually not that difficult to clean. I always start with just a soft brush and then maybe a gentle dab over with fresh clean Rodico.
If more is needed then I will use a cotton bud with warm water with a drop of detergent. I use the cotton bud barely wet, you don’t want to flood the dial, and again I just dab at the surface. If you rub then things can go badly wrong very quickly.
I don’t do anything more agressive than that, the risk of losing dial print is too great. Sometimes the result is hardly any different from the start, but if I’m lucky the result can be a big improvement, as with the Rotary dial.
LikeLike